Timely Bootcamp: Stabilise your core
Your core isn’t just the home of the mythical 6 pack! It’s what keeps your body stable, strong, and operating at its absolute best. The same goes for the core of your business; it’s the engine room that keeps your business humming, and this week’s bootcamp will show you the best features and tools to make sure the core of your business is in the best shape of its life.
We’re running our very own 6 week Timely Bootcamp to help get your business fit and ready to hit the ground running! This blog is the 6th in our Timely bootcamp series, and each week we’ll be releasing a blog and hosting a Facebook LIVE class focusing on a different topic covering all the essential information you need to get ready to reopen. Follow us on Facebook to learn more.
This week’s Facebook Live – Stabilise your core
Wednesday 13th May
New Zealand: 8pm NZST
Australia: 6pm AEST
United Kingdom: 9am BST
Contents
Strengthen your services setup
Getting your services properly set up and making the most of all the great service features is one of the first things you should do for your business, so you’re set up for easy bookings.
Padding and processing time
We all want one less thing to worry about! Adding padding time to your appointments will automatically add a time buffer to the start or end of your services (or service groups), which will help with any additional time your staff might need to clean and prepare the salon for your next client.
Setting up processing time ensures services are scheduled correctly to allow for multiple services in one appointment. E.g. if you perform a series of services within an appointment, like a hair cut and colour, you might need to allow some processing time between the colour application and the wash, blow dry and cut. The client is still in the salon, but you don’t need to be working directly with them.
Ask your clients questions when they’re booking
For some services you might need to know a bit of extra information, especially for new clients. You can set up questions for each service that are flagged as optional or required to the client, so you can decide whether or not they need to be answered when the client books online.
Set up service groups
Make the booking experience nice and easy for you and your clients and avoid booking mistakes by grouping services that you would normally perform together, especially if they include padding or processing time between them. Creating service groups is a great tool to make sure certain services are always performed in the right order, and it’s super easy to automatically add them to your appointments.
Tip: Take advantage of the demand when your doors reopen and make sure your time is well spent by offering premium packages/bundles. You can’t see everyone at once and there will be restrictions on how many clients you can see, so you should try to prioritise the clients who are willing to pay for more services or even pay a premium to be seen first.
Help guides:
How to add padding or processing time to services
How to ask customers questions when clients book
How to use service groups
Set your staff up with the right access
This might just blow your mind, but did you know you can add unlimited admin staff to your account? You can give logins to accountants, business partners or reception staff to make your life easier, without impacting your bill!

Passwords or pins
Ensure the security of your Timely information by setting where and how your staff members access Timely. Staff with ‘PIN only’ access won’t be able to access the system from home or from their phones.
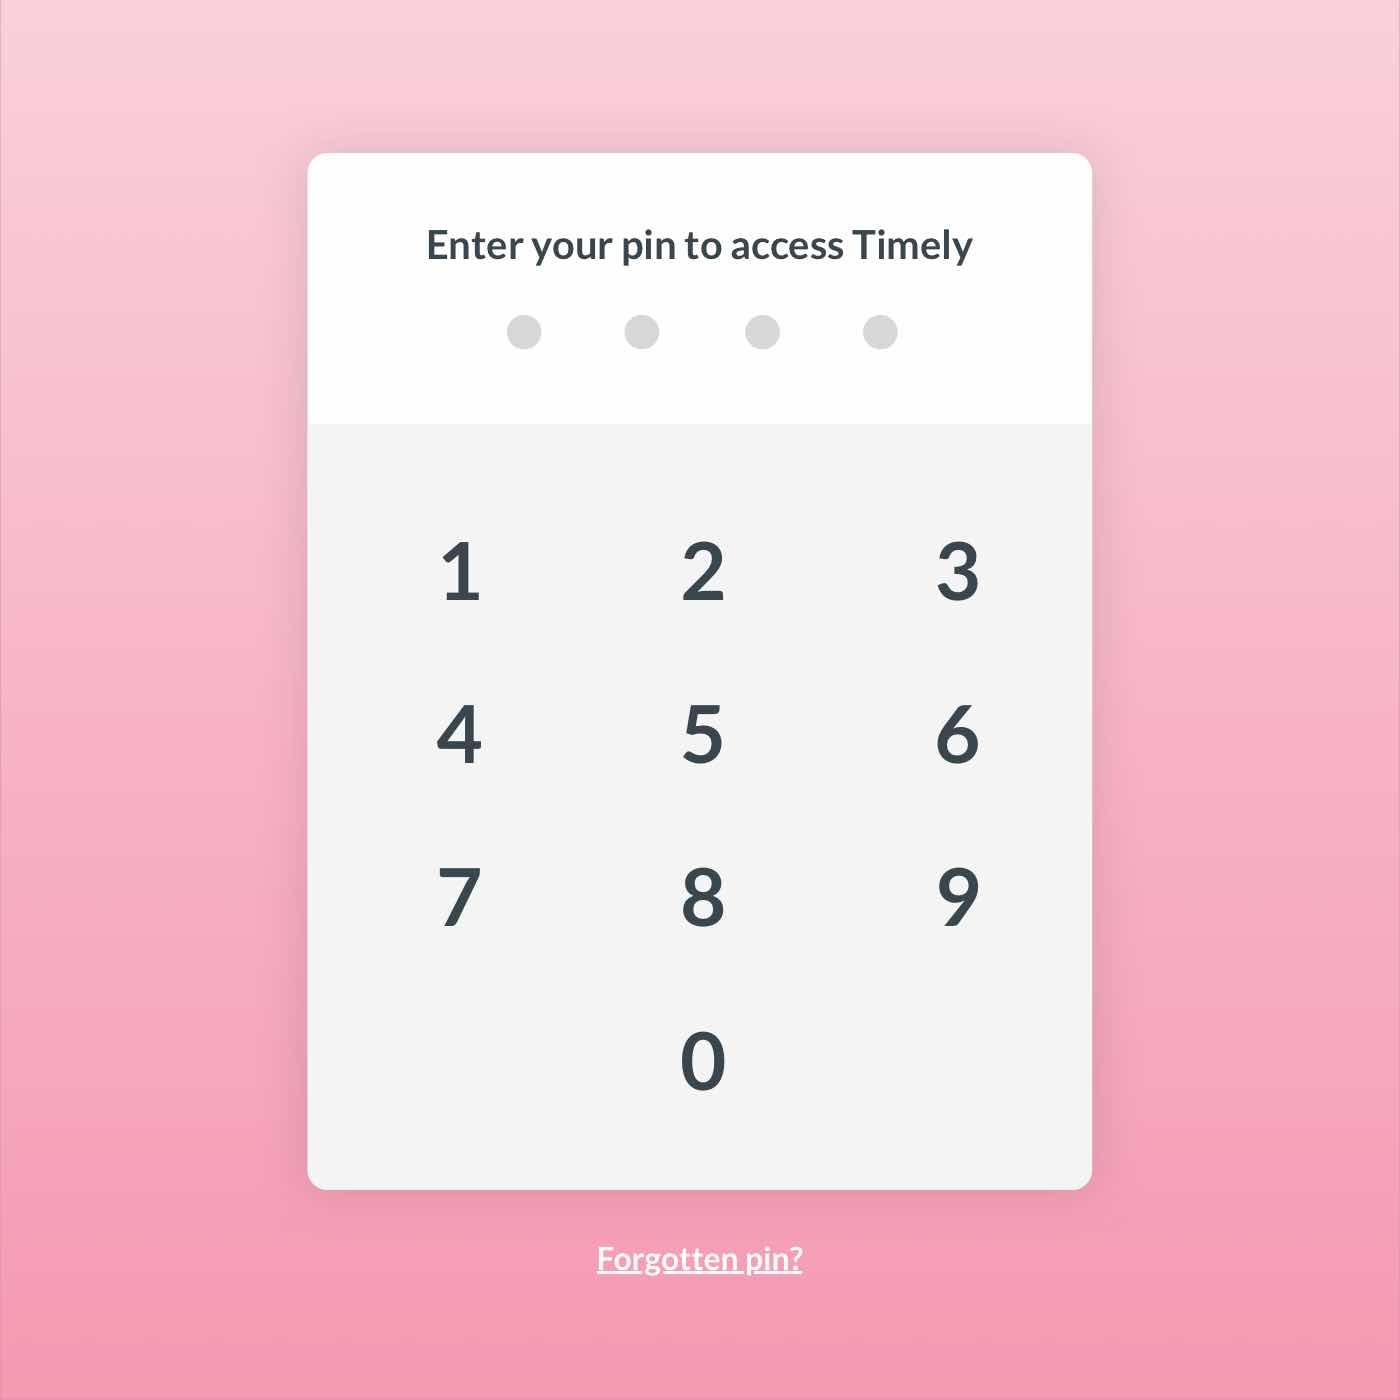
Using our Pin switching feature, you can set up your account so your staff can log in with a 4 digit pin and have Timely auto time out. Not only will your staff love how much quicker it is, but your records will be much safer.
Help guides:
How to add admin staff
How to enable and use PIN switching
Make the most of your calendar
The sidebar is your new best friend
When you’re making an appointment or working in the Calendar, you might need easy access to specific information. Much like a protein bar, the Calendar sidebar will help you get to where you want to go a lot quicker! Tucked away on the left-hand side of the calendar, it’s great if you want to view a summary of a client’s record and do fun things like send them an SMS, create a new appointment for that client, raise a sale, and see notes or view past appointments and sales made, without leaving the calendar.

Appointment history
Knowing the history of an appointment is super handy, especially when it comes to keeping track of how many times an appointment has been changed or rescheduled, identifying any errors, and clarifying information.
Tip: If you’re feeling super whizzy, there are even keyboard shortcuts to help you zoom through the calendar! E.g. to hide customer details; press b, to create new appointments; press c, and to change the view to next week; use the right arrow. Plus, lots more!
Help guides:
How to use the Calendar sidebar
How to view your appointment history
How to use keyboard shortcuts
Keep on top of your client info
Photos and documents are a winning duo
Keep everything together and maintain thorough client records with photos and documents. Lots of services require forms, photos, client waivers, and more! It can be hard to keep track of all of the things, so you should make the most of your Timely client profiles and store all that important info in one easy to access place.
Tip: Using our free app for customisable digital forms? You should be! If you use Consult and Timely, not only can you automatically sync your client’s important consultation info to their record in Timely, but you can also now set up video call services that work with any video conferencing software to help you perform virtual consultations and appointments.
Help guides:
How to upload, view, and download documents
How to upload, view, and delete photos
How to upload photos on the iOS app
Take or upload photos on the iOS app
Set up video call services
Tidy up your duplicate customers
Sometimes you’ll end up with duplicate customers in your system. Not to worry, there’s an easy fix! Use the duplicate customer report to combine the appointment history of duplicate customers into the one record, and keep your data sparkly clean. You can filter the report by name, email or SMS number to catch all the duplicates in your system, and follow the guide below to merge them into one.
Help guide: How to merge duplicate customers


