High Intensity Timely Training: Managing your waitlist with Timely
![]()
Covid lockdowns have left lots of businesses with a backlog of existing clients waiting for appointments and new clients waiting for a cancellation so they can steal a last minute slot! In times like these, Timely’s awesome waitlist feature is your new sidekick, helping to give those waiting clients the best chance to score a booking.
Welcome to our HITT class series; short and sharp 15-minute intense training sessions designed to get you Timely fit. Each week we’ll be releasing a blog and Alex and Lu will be hosting a Facebook LIVE class on a Monday (9am UKT / 6pm AEST / 8pm NZT) focusing on a different topic each week. Make sure you Follow us on Facebook to stay in the loop with what’s coming up. So what are we waiting for? Let’s do this!
Contents
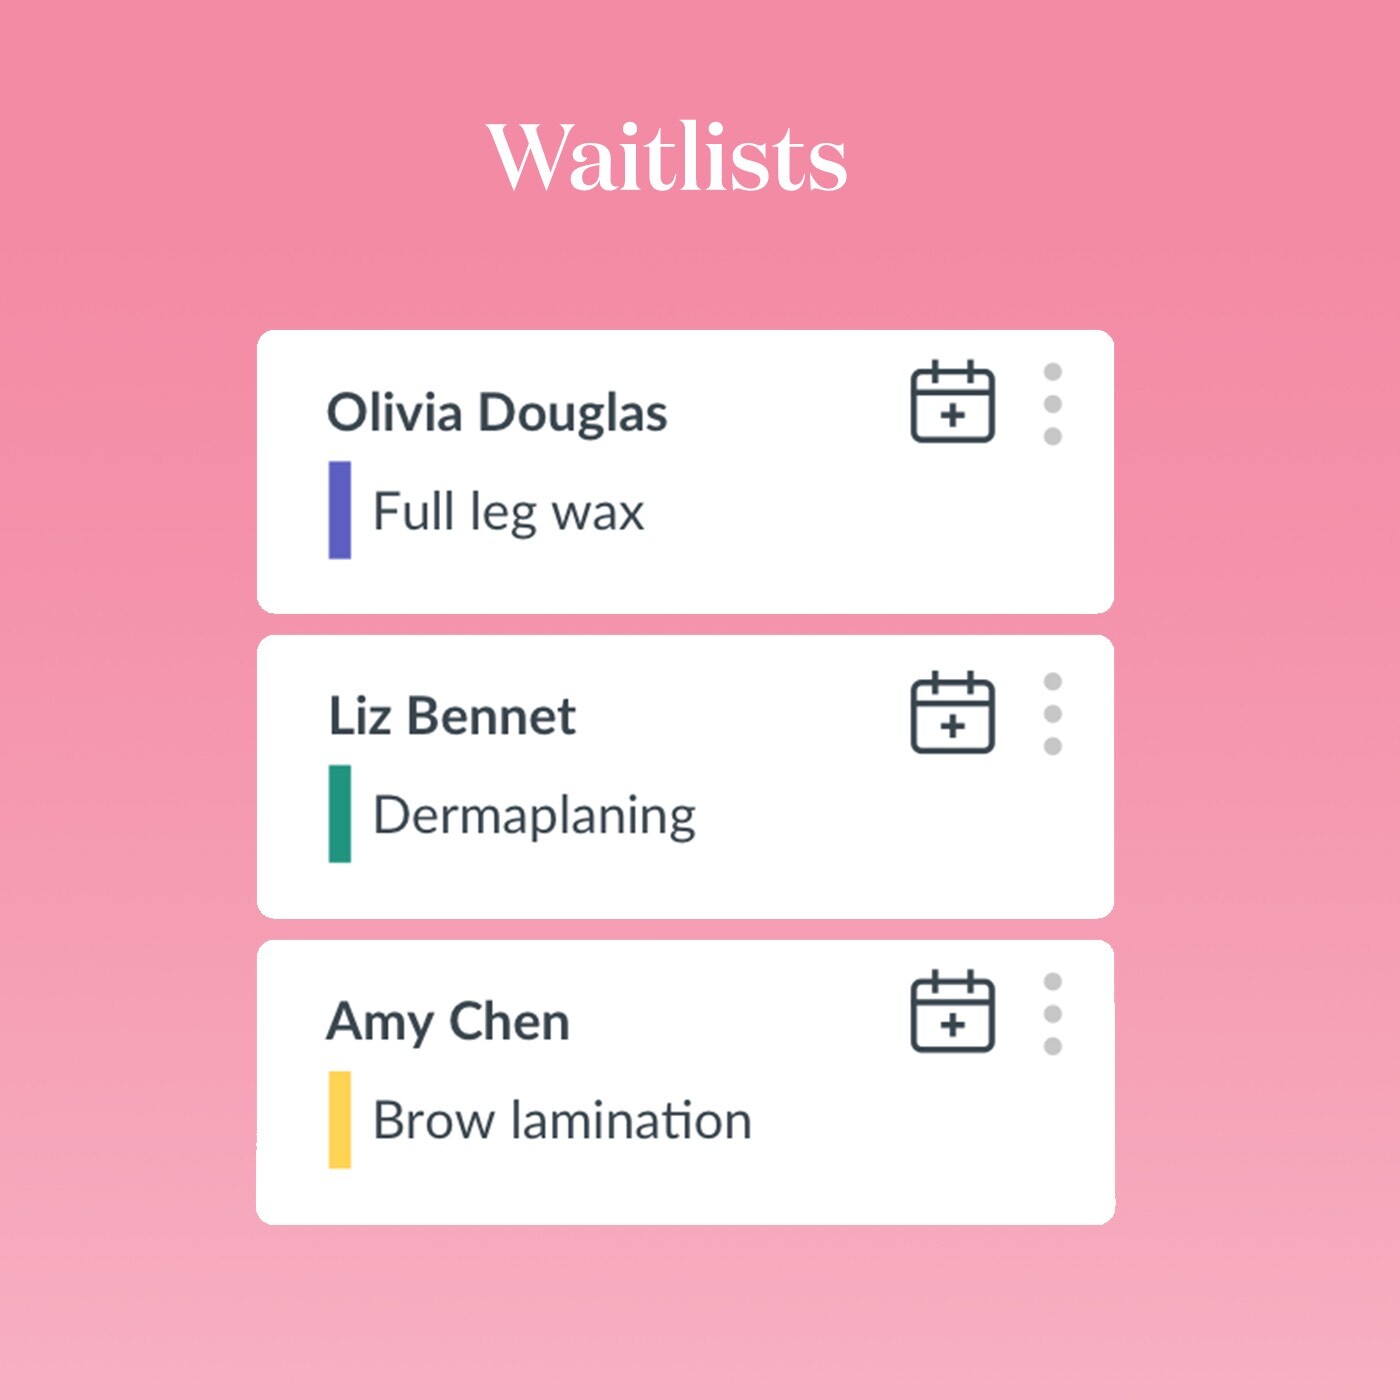
Getting started with waitlists
There’s nothing more frustrating than having a last-minute cancellation come through, especially if you have a bunch of clients who are waiting on available appointment times! Having a waitlist is a great way to fill up the calendar and make the most of your day if those last-minute cancellations happen.
Help guide: Getting started with waitlists
Turning your Instagram fan to a loyal client
Picture this: A client that’s been stalking your before and after photos on Instagram for months sends you a message and asks if you have an appointment anytime after 5pm, this month! Sadly (or not so sadly) you’re fully booked, but you don’t want to lose a potential new client. This is a great opportunity to add them to your waitlist, because things come up and people cancel. You never know, they might get lucky with an appointment and you’ve got a new loyal client because you’ve been so accommodating!

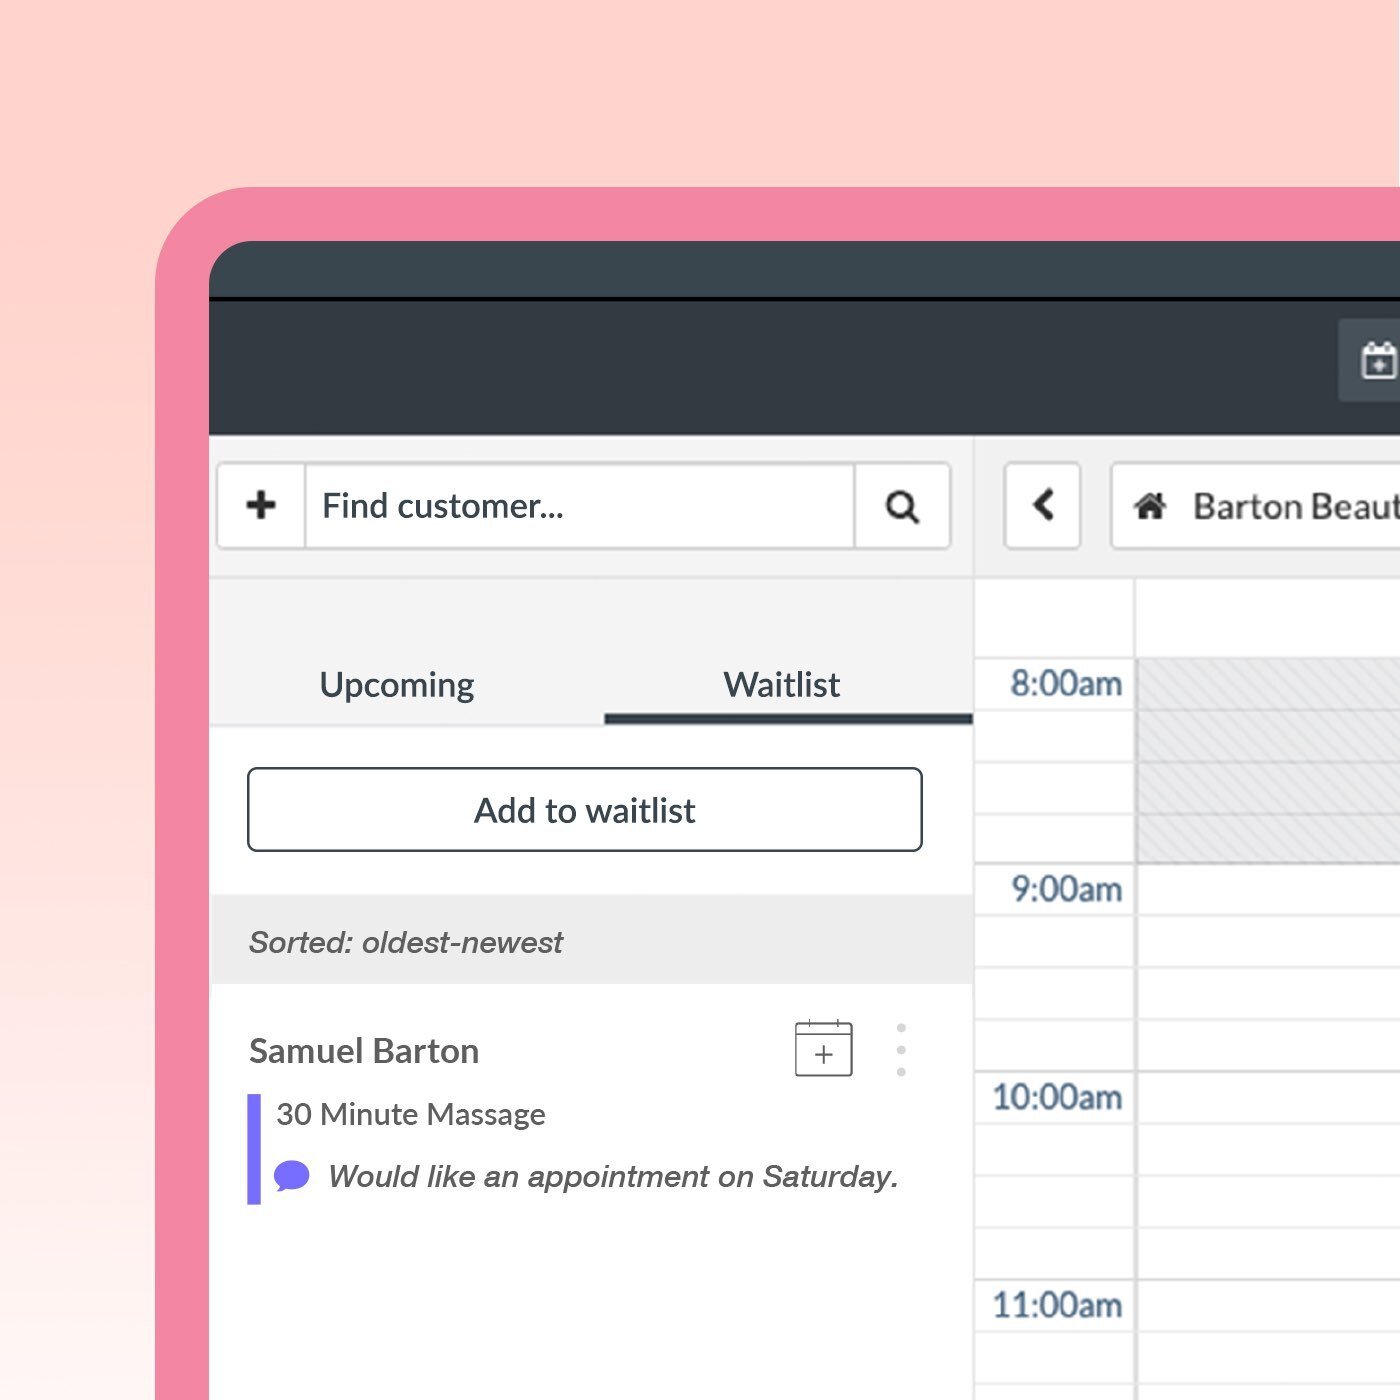
Adding a client to the waitlist
Adding a client to the waitlist is super simple;
- Open the customer sidebar from the calendar view
- Click ‘Add to waitlist’
- Enter your client’s details
- Click ‘Add’. Done!
If they’re an existing client you’ll be able to start typing the client’s name and it’ll pop up; if they’re a new client you can add in their details. You’ll choose the main service they’re after and add any notes about the type of appointment, like the day, time, and if there’s a specific staff member they’d like to see.
Help guide: Adding a client to the waitlist
From the waitlist to the calendar
You’ve had a cancelation and one of the clients on your waitlist is perfect for the appointment! Once you’ve checked with your client that the appointment suits, you can add the client from the waitlist to the calendar.
- Open your waitlist from the customer sidebar
- Click the Calendar icon next to the waitlisted client
- Select the date and time you want to move the waitlisted client to; clicking the calendar icon will open the appointment modal and give you the option to add extra services, select staff, and turn it into a recurring booking
- Click ‘Save’ and it’ll now be an appointment in your calendar!
Help guide: Adding a client from the waitlist to the calendar
Removing a client from the waitlist
If your client doesn’t want to be on the waitlist anymore or you need to take a client off the waitlist who could only do a specific date that’s now in the past, it’s easy to remove them.
- From the customer sidebar, click the three dots next to the waitlist item
- Select Delete, and confirm!
That’s it!
Help guide: Removing a client from the waitlist