High Intensity Timely Training: Boost your online booking with service groups
![]()
When clients are booking online and choose the wrong services, it can be an administrative nightmare. Don’t let it put you off online booking! Our service groups feature will save the day. You can put your most commonly paired treatments and services together, making it easier for your clients and saving you hours on the phone.
Welcome to our HITT class series; short and sharp 15-minute intense training sessions designed to get you Timely fit. Each week we’ll be releasing a blog and Alex and Lu will be hosting a Facebook LIVE class on a Monday (9am UKT / 6pm AEST / 8pm NZT) focusing on a different topic each week. Make sure you Follow us on Facebook to stay in the loop with what’s coming up. So what are we waiting for? Let’s do this!
Contents
- First things first; what’s a service group?
- Setting up service groups
- Why service groups are a great idea
- Why service groups are good for your clients
- How to make up your service groups
First things first; what’s a service group?
A service group is simply a group of your most commonly teamed-up services, which aren’t usually booked by themselves. Here’s a few examples of some great service groups:
- Eyebrow wax and tint
- Eyelash lift and tint
- Half head foils, toner, cut, and blow dry
- Deep conditioning treatment and blowdry
- Skin tightening and fat cavitation
- ¾ leg, bikini line and underarm wax
Setting up service groups
It’ll only take you a few minutes to set up a service group.
- Once you’re logged into your Timely account, click on the ‘Set up’ tab.
- Click ‘Services’, then ‘Add service group’.
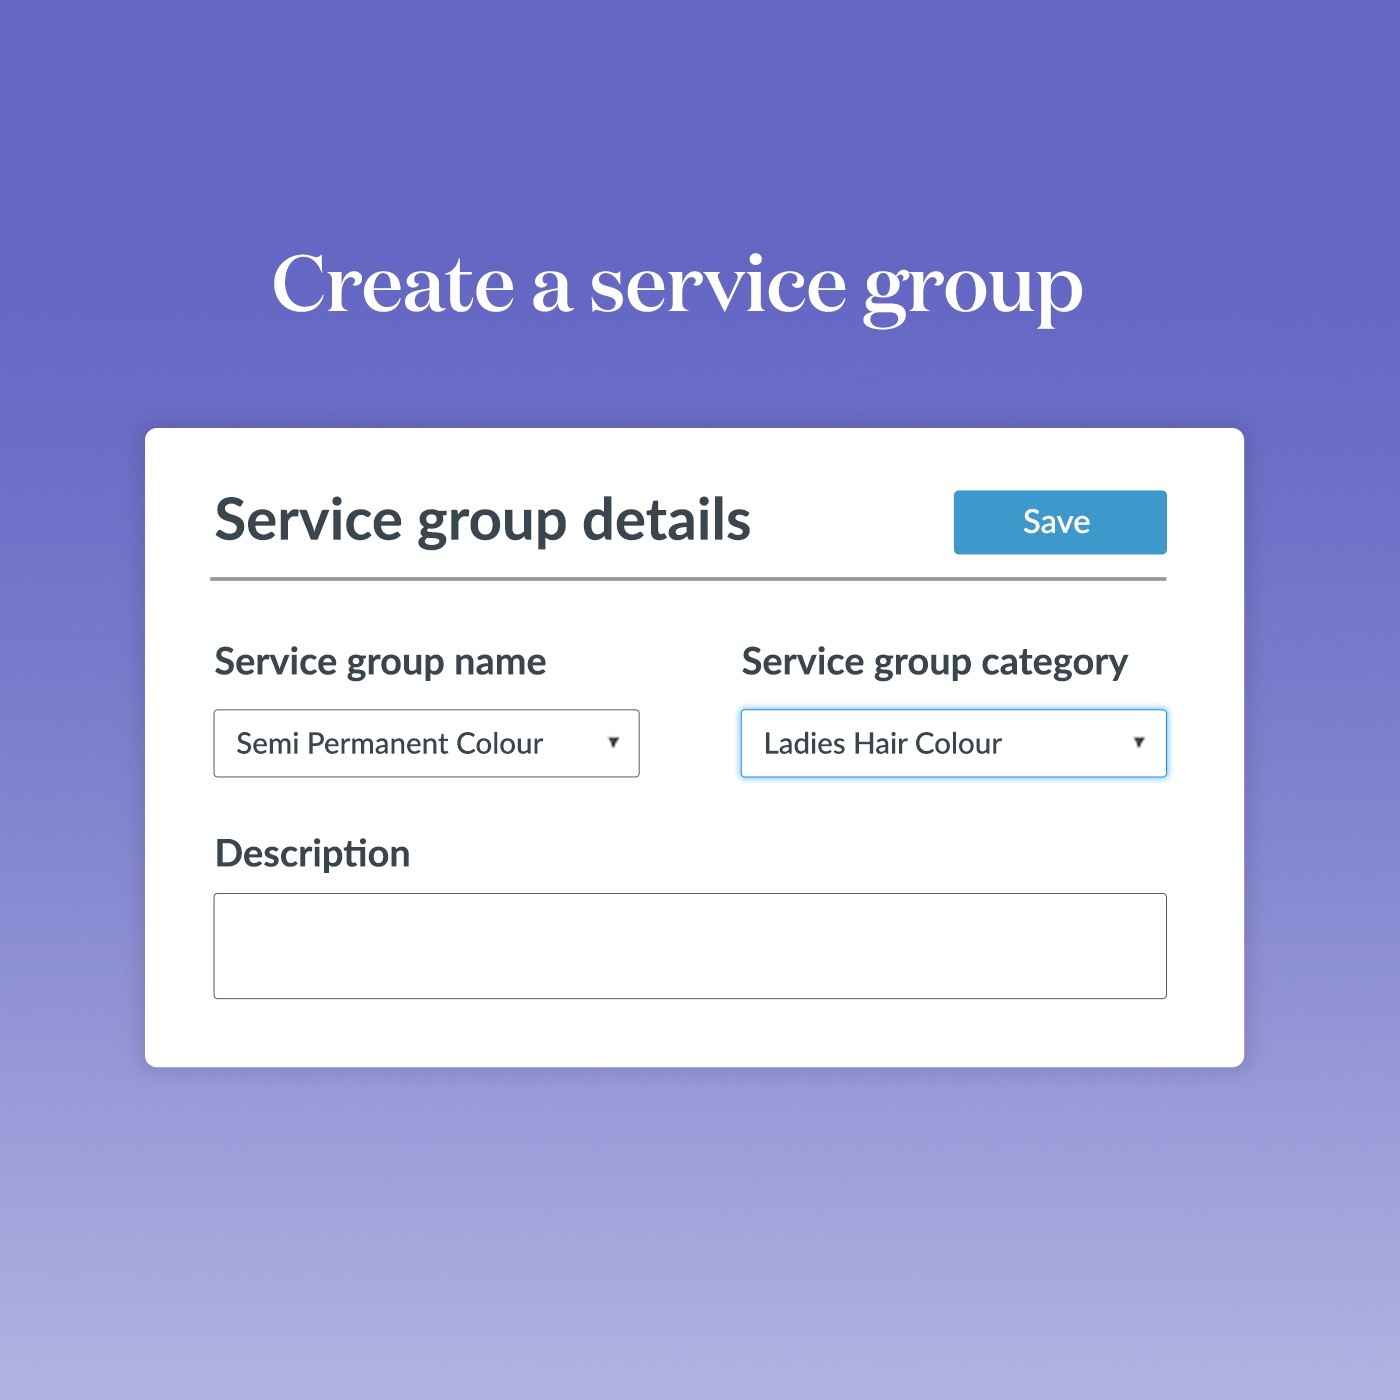
- Fill out the details about your service group, including the Name, Category and Description.
- If you’d like clients to be able to book this service group online, check the box next to ‘Customers can book this service group online’.
- To add more services to the service group, simply select a service from the drop-down menu, and click ‘Include service’ to add it to the group.
- After that, update the duration, price and add padding time or processing time where needed.
- Once you’re happy with your service group, click ‘Save’.
You’re done!
Help guide: How to use service groups
Why service groups are a great money making idea
When you create a service group, it means all of these services can be booked together with just one click of a button, rather than having to individually add them to an appointment. Creating service groups for your most commonly paired services or treatments saves time each day when you’re booking a client’s appointment, and they’re also a great way to quickly upsell to a client, e.g. “I’ve actually got a package that has X service and also includes Y service for this price, why don’t we do that next time?”.
Help guide: Selling premium bundles online by using service groups
Why service groups are good for your clients
Having service groups available for your clients to choose from takes the guesswork out of booking online, and ensures clients are booking the right services together.
Tip: Timely customers who use service groups love how much easier and less scary it makes introducing online booking to clients; it’s a must do for all businesses who are new to online booking!
Help guide: How to use service groups
How to make up your service groups
If you’re keen to use service groups but aren’t sure where to start, we recommend looking at the appointments your clients are booking and what services they contain. You’ll notice that there are a number of services which are most often booked together, so you can create your service groups based on those.
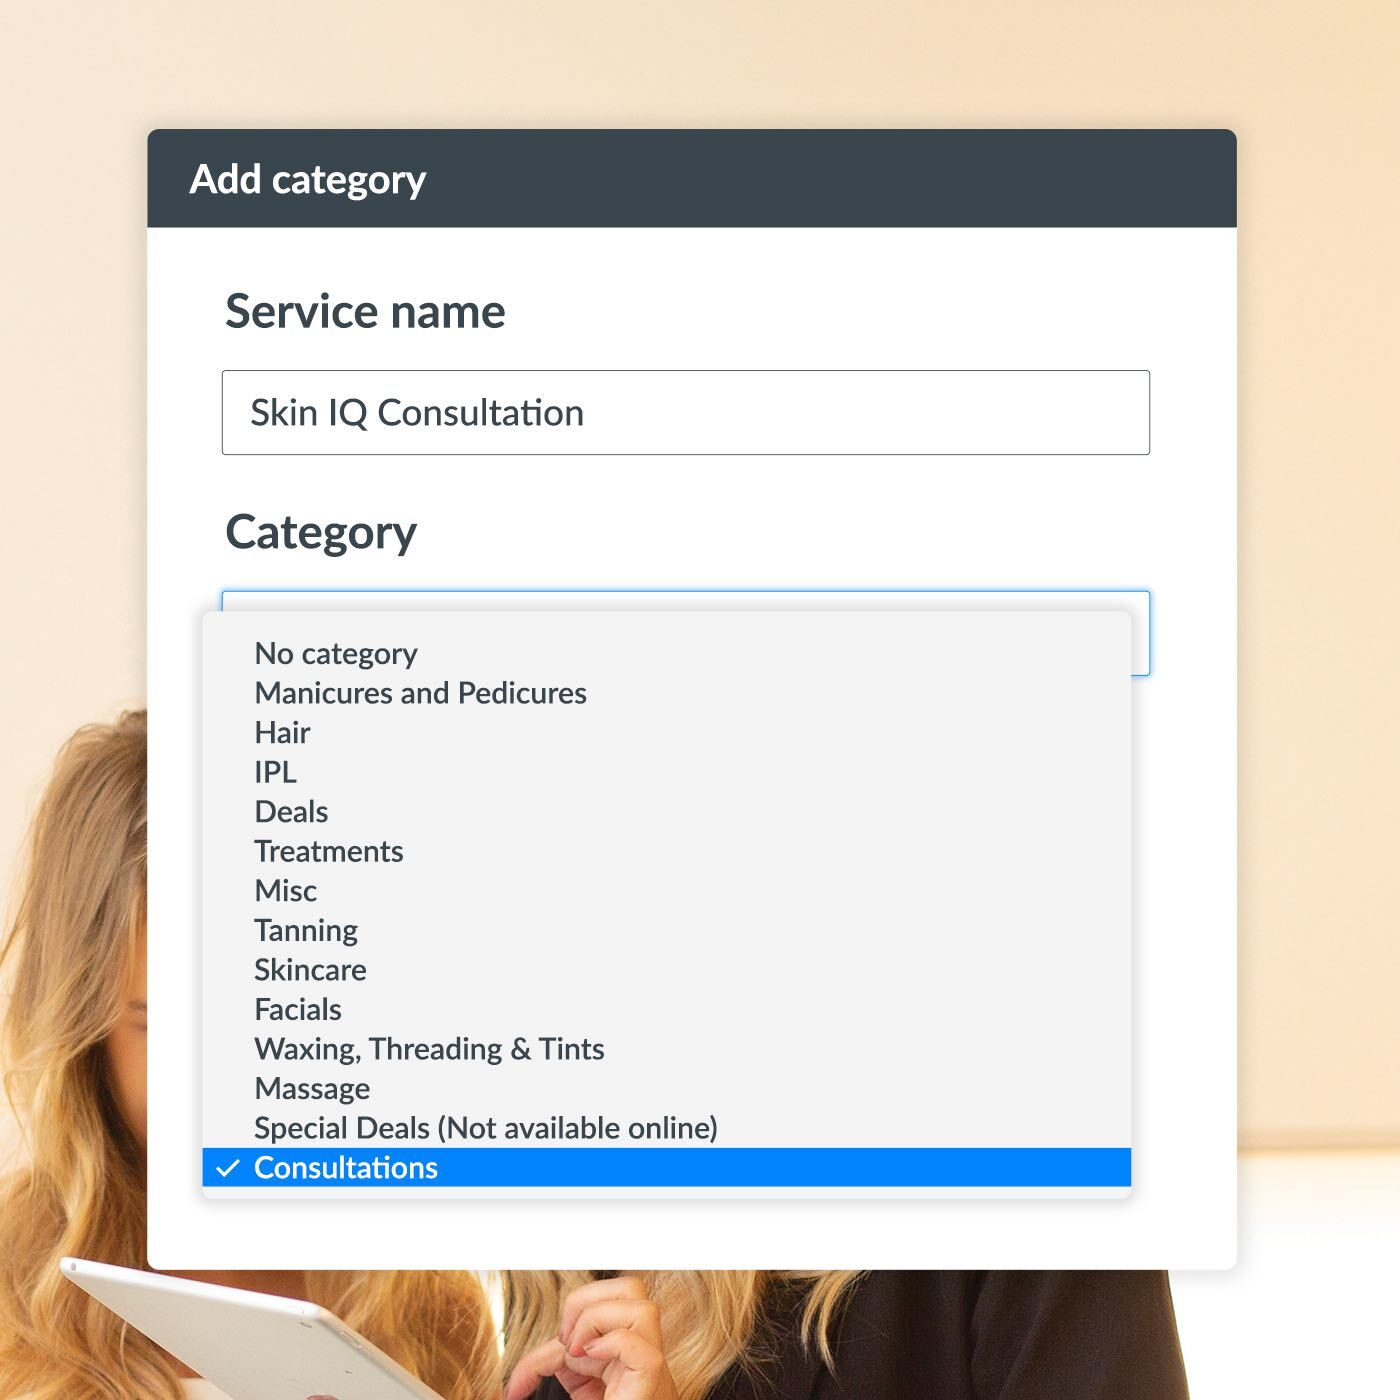
If you already have service groups and they work well for you, you can simplify your online booking by making your individual services not bookable online. To do this, edit the individual service and untick ‘This service can be booked online’. It’s also a good idea to look at your categories to make sure that the service groups are in the right and most obvious categories so that your clients have an easy time booking online.
Tip: Once you’ve completed your online booking transformation, go live on Facebook or Instagram to tell your clients that you’ve updated your online booking to make it easier and quicker for them! You can even share your screen, or post videos and photos of your new setup to show them how it looks, and what they need to do to book the appointment they want.
Help guide: How to categorise and order services